Design Portfolio Best Practices – Part One.
If I only had a time machine I would go back and tell my younger self this crucial piece of advice:
Take More Pictures!
Take more pictures of:
- works in progress
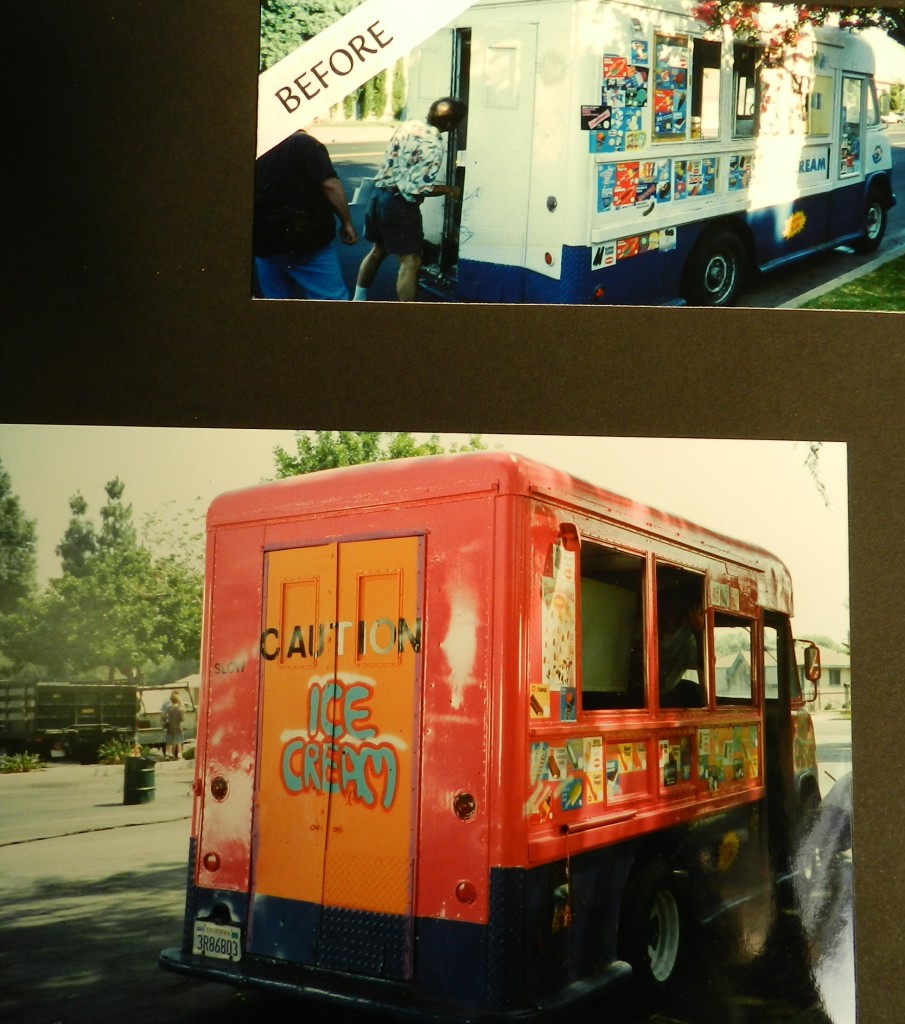
- the “before” of spaces
- the designer at work and the design process
- the set model
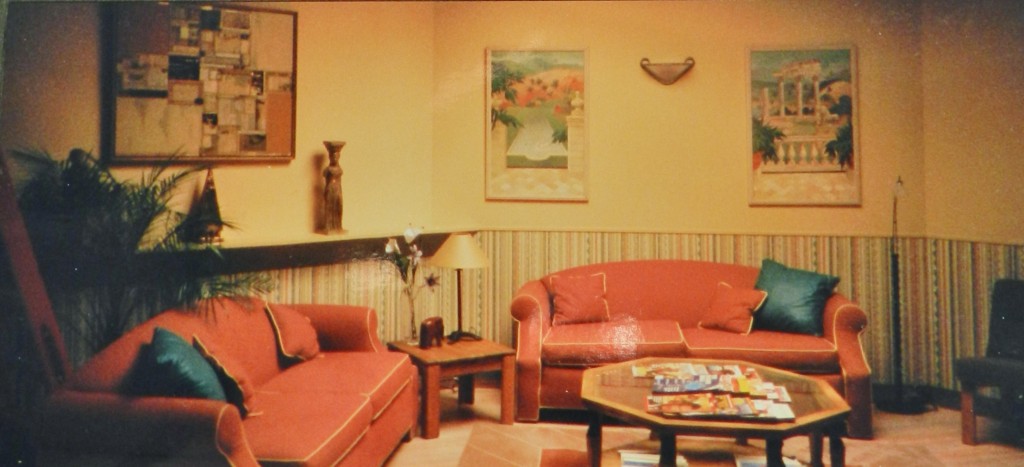
- staged shots of actors in costume and sets in use
- performance shots with the lighting
- candids of the team at work or in discussion
- yourself with audience members or critics at events
The tragic mistake I made early in my theater career was to rely on the official photography session for my shots. Unfortunately publicity stills, while often beautiful, were not the most helpful way to show my work specifically. Most of them were in black and white (for printing in those dinosaurs, newspapers) and the tended to focus on the actors.
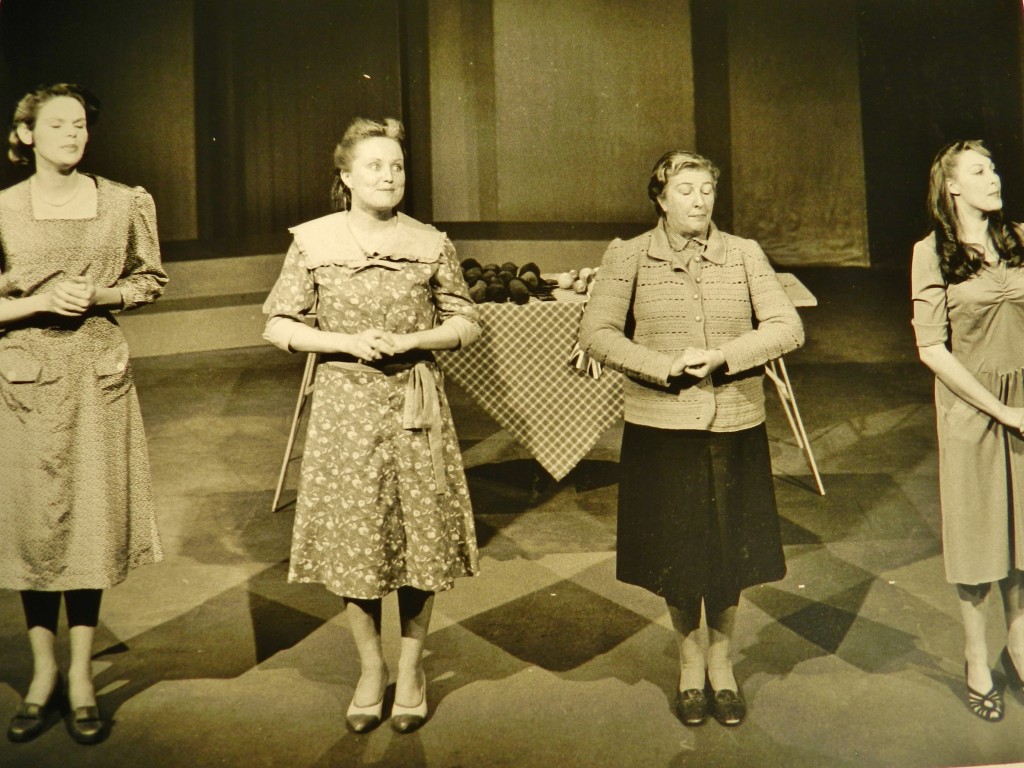
This is an example of why not to leave your portfolio shots to the publicity photographer. My costume designs were great, but the colors said so much more about each of these characters than is evident in this b&w shot.
Of course the excuse I had was that my photos were being shot on film and required developing and printing, a fairly high cost for a hungry, new theater designer. But with digital cameras and free or cheap online photo hosting, that problem is gone. But you still have to take the photos to have them to choose from for your portfolios, in whatever medium you choose.
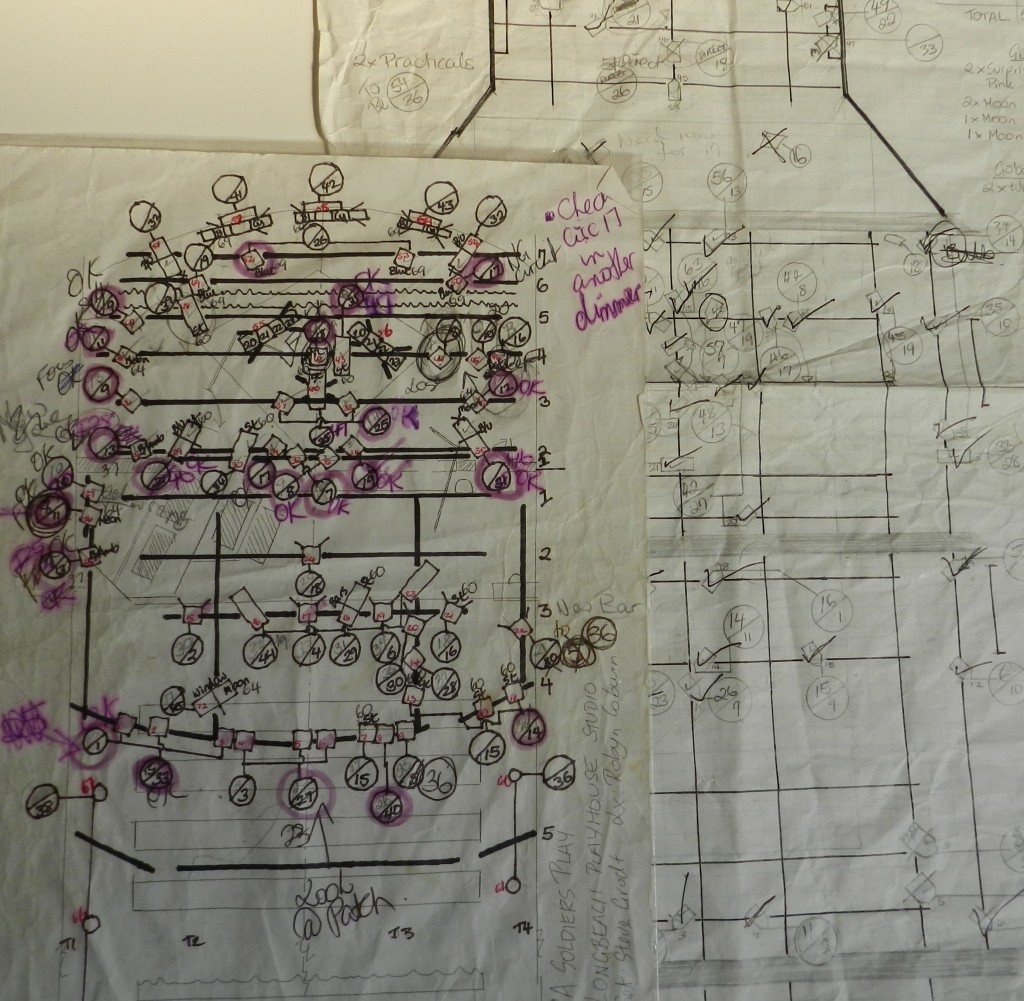
Today young designers have the opportunity to create digital portfolios as well as a hard copy to carry to interviews. Like your résumé and cover letter, you should have different portfolios, or sections, that you can customize as necessary. I have separate portfolios for Set Design work (Film and Theater), Costume Design (Theater) and Lighting Design (Theater). The last item is mostly technical plans, thanks to my aforementioned lack of photos, darn it.
Nevertheless, if I were still looking for Design work I would do three things right away:
- create a searchable, categorized online portfolio – including a nice slide show.
- Edit my slide shows into at least one video and upload it to You Tube. If I had the ability to make a show reel, I would certainly do that too.
- burn my portfolio to CD’s that I could leave with the interviewers along with my résumé.
Some of the advice designed for online sellers applies to portfolio photography, and some of it does not. For props, work in progress builds, costume works, set model construction and candids – natural light is great. If you are showing small items, like jewelry, hand props, or costume detail you may need a macro lens, tripod and a light box or small cyc.
Definitely use a tripod and filtered or soft natural light to shoot images of your drawings or sketches, against a neutral, preferably vertical, background – unless you can scan them directly. Mine are usually too large for that.
I’m not a photography expert. I tend to favor a point and shoot camera, with a few auto settings (like macro). But sometimes you have a camera that calls for you to do a white balance. If you do, don’t neglect that. For designers color is crucial!
For film set exteriors, you may have natural light in the day, and the set lighting in the evening. By showing a Before and an After picture you highlight your particular contribution, even on locations. Generally only use a flash to add some fill to mitigate harsh full sun glare. You will notice that on film sets the Gaffer will usually filter bright full sun, because the shadows are super hard. Using hard shadows is an artistic choice in a movie – so be aware for your portfolio shots.
Set Designers, ask the lighting operator to bring up a general wash and take some images of the empty set. Then grab some shots during final dress rehearsal with lighting effects and actors at work. Do I need to say don’t use the flash?
Costume designers/stylists – if you have a sketch or research material include that along with a gorgeous image of your custom made costume. With multiple images, you can make a collage presentation. Don’t make the same mistake I often did and shoot your dressed actor in front of a busy background in the dressing room.


If your work has been published include the cover page of the magazine, pulls of the layout, your own design sketches and your own picture image of the person or scene.
Work in progress and behind the scenes images should find a second life on your professional blog as well.
I know it’s hard to pull yourself away from doing your job to photograph your work. I have actually found it a lot easier, time wise, to get film portfolio shots. There is always time during rehearsals or set ups, and so many people are taking pictures for different reasons anyway. Maybe you have a spouse or friend who could help you during that final dress rehearsal at the theater.

More about organizing your portfolio soon. Remember – take more pictures than you need, so you can edit later!
Please Share this post!